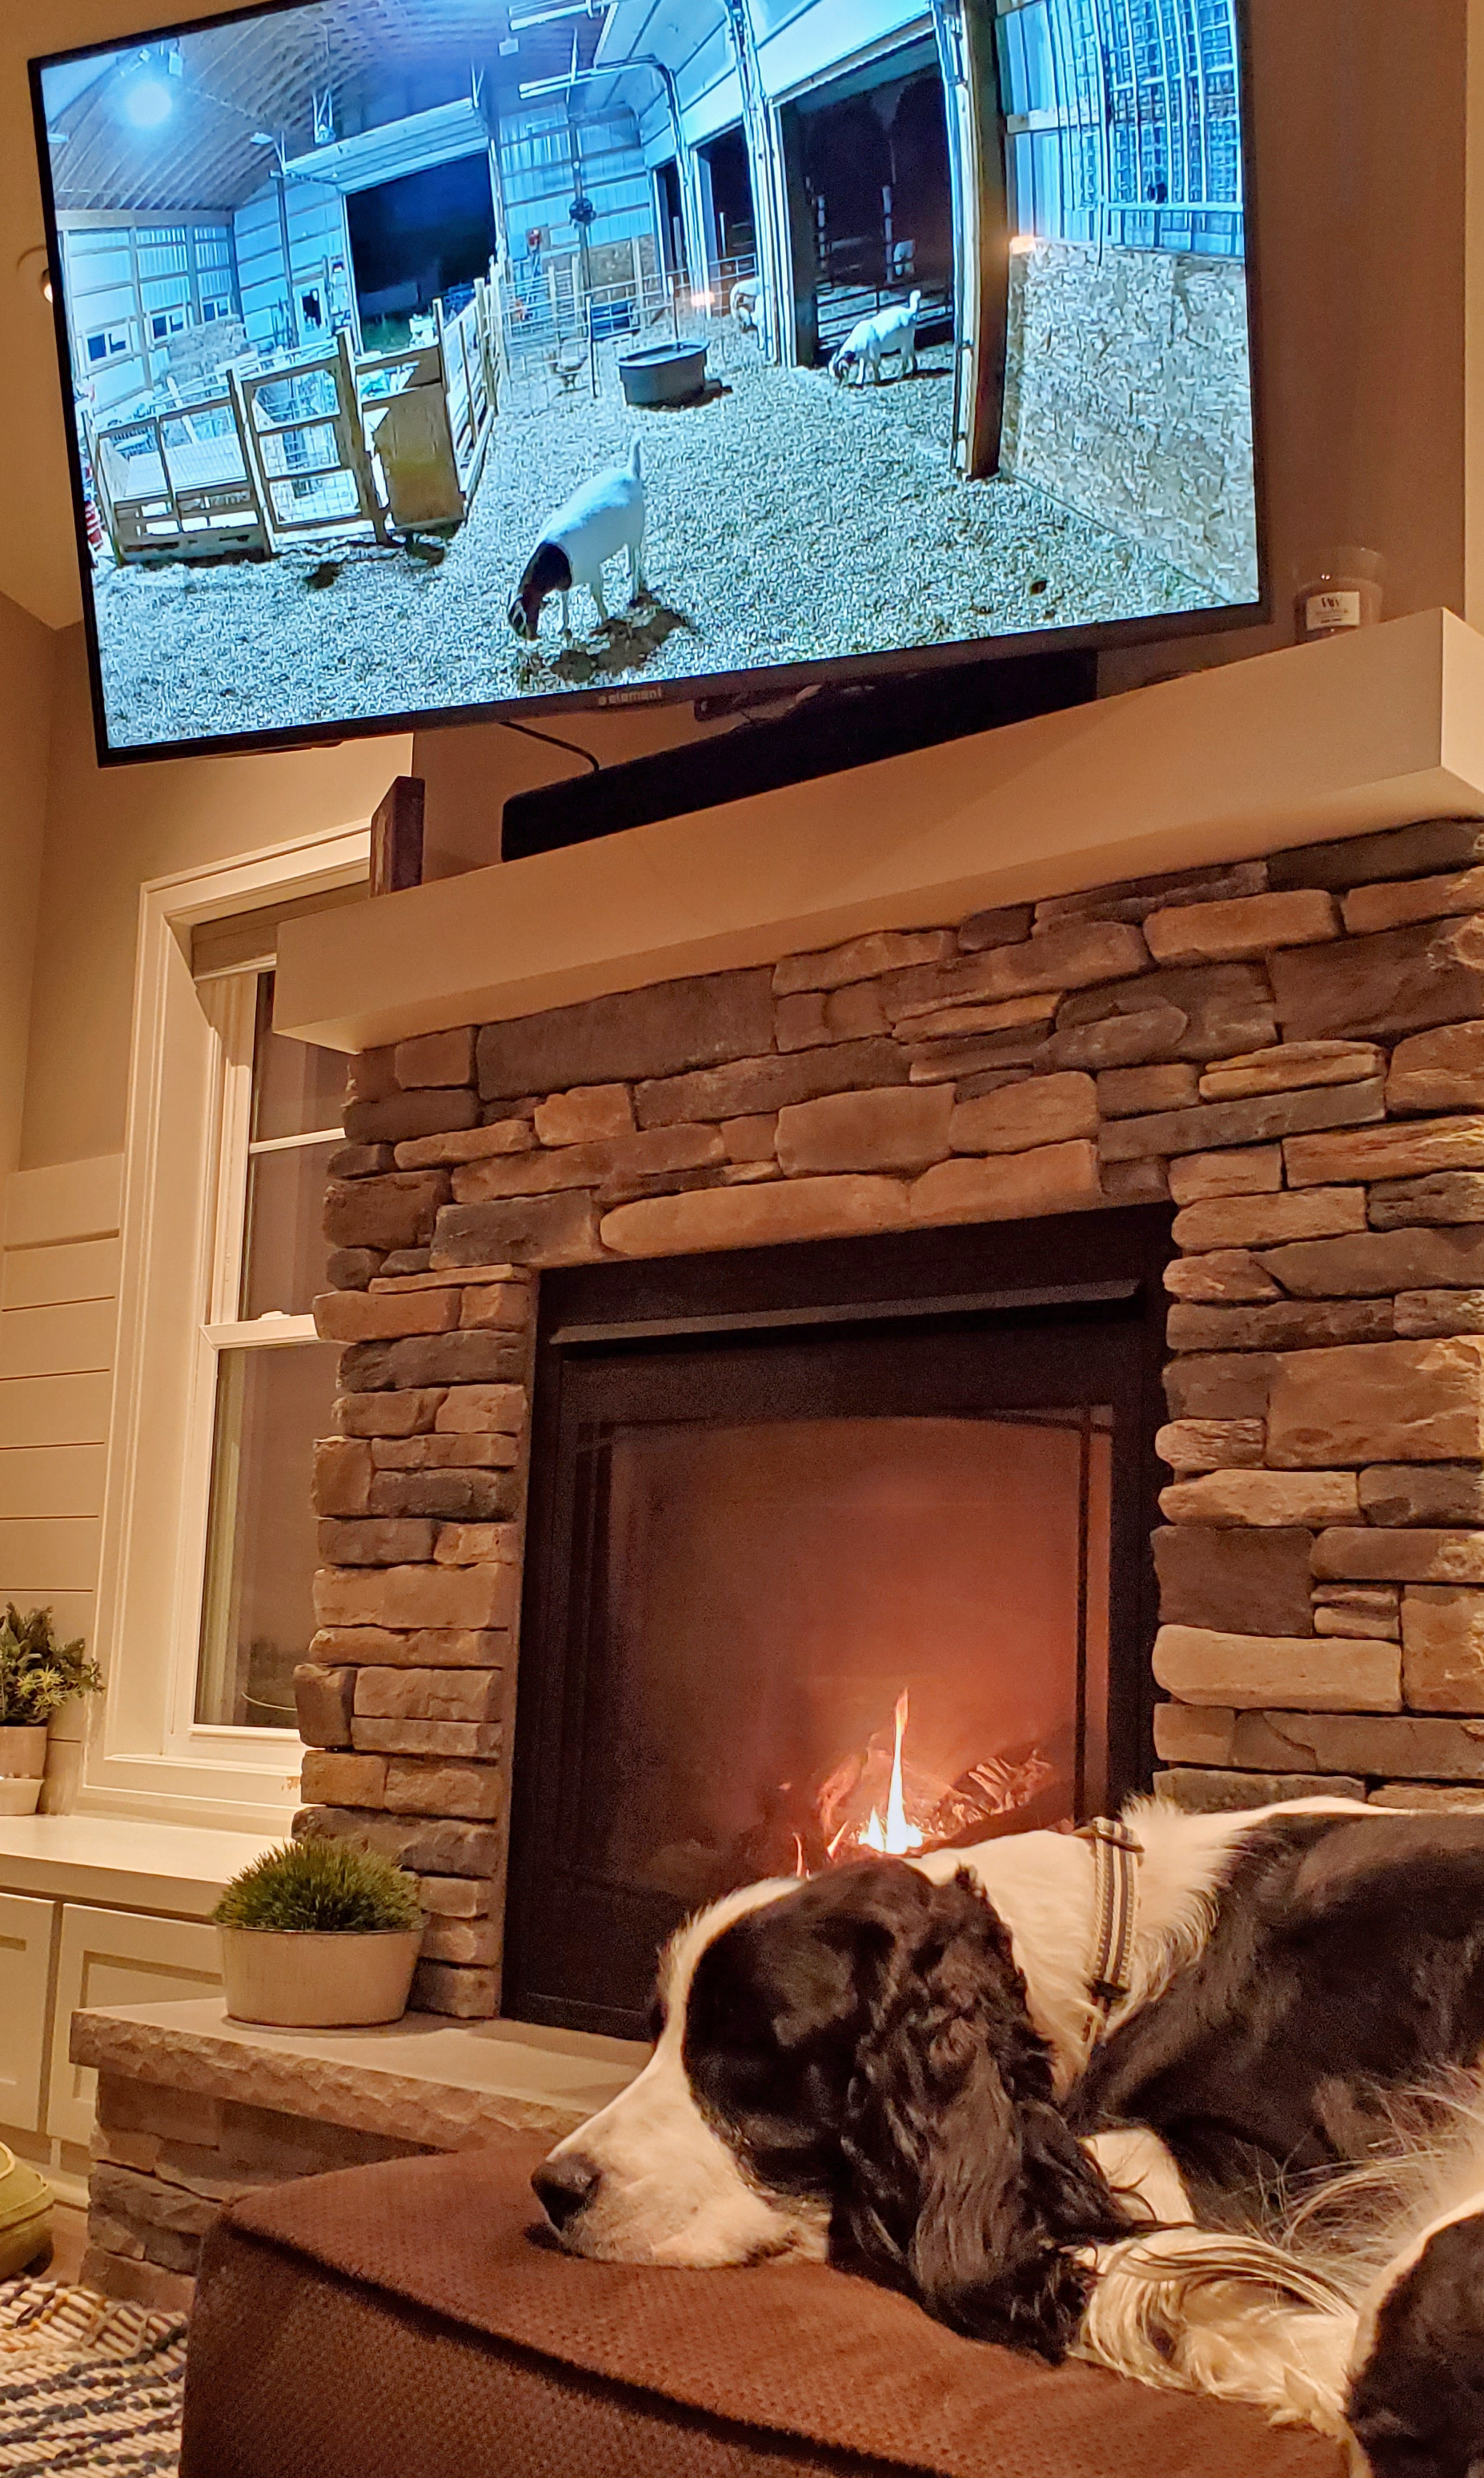
It’s Fall Kidding season at the farm and it seems like my boer doe Dottie will NEVER have her babies. This means I’ve spent a lot of time watching my Arlo Barn cameras. Last week I posted the photo below of my ‘barn-watch’ setup! I’ll admit, it’s pretty cozy! Certainly a big improvement from my 4-H days when my sister and I spent a couple nights a year sleeping in the barn!
That post spurred some questions on what cameras I have and how they work, specifically how I get the image onto my TV – it’s easy!! I’ve posted a step-by-step guide below. I’ve also included Amazon Affiliate links which will automatically update prices and make it super easy to purchase exactly what I recommend. As always, I only share items I own and use every day.

Gilbert the Springer Spaniel, keeping a close eye on his herd
Step 1. Check your WiFi
Arlo systems require a strong WiFi connection. If you already have WiFi, the first thing you should do is take your phone or laptop to the location you’d like to place the cameras and run an Internet Speed Test. It’s important that you hold your phone or laptop right where the camera will be mounted. Things like walls or metal siding can interfere with the signal, so try different locations if you need to. First, make sure the ‘WiFi’ is enabled on your device. Then, google “Internet Speed Test” and run the test. According to Arlo, you will need between 1-2 Mbps upload speed per camera [Click here for more information from Arlo]. My speed test showed 6 Mbps upload speed and I have good video quality.
If you aren’t getting the speed at the location you’ll place the camera, check the speed right next to your WiFi router antenna. This is the maximum speed your system is capable of. If you don’t have 1-2 Mbps right there, you’ll need to contact your internet provider and you may need to upgrade to a different plan. If you get temporarily stopped at this step, don’t get discouraged. I live in the country and the only internet access available is wireless broadband. I have a receiver antenna which picks up the connection from a tower ‘in town’. It’s not fancy, but it still works!
Step 2. Boost your WiFi if needed
If you have enough WiFi strength near the router, but not in the barn, you still have options!! I’ve overcome this obstacle two different ways:
Place an additional WiFi Router in the barn
I have a wireless router located in my barn. I am lucky and had a buried water line from my house to the barn that I wasn’t using, so I snaked 200 ft of cat-5 Ethernet cable through it. Cat5 looks like a phone cord but has a larger end. You could also direct bury the Cat5 line underground using a trencher. If you go this route, make sure you purchase cable that is rated for ‘direct bury’ – it will have a thicker plastic coating. It sounds complicated, but it can be easily completed over a weekend. If I can do it, trust me, you can do it!

Here’s my barn set-up, it’s dirty (thanks birds…) but it works like a champ.
Place a WiFi Extender in your barn
If you don’t want to go to the time and expense of running Cat5 to your barn and your barn is fairly close to your home WiFi network, you can try using a WiFi Network Range Extender. I had good success with the Netflix Extender posted below for my parent’s barn. Their barn is about 75 feet from the house and has vinyl siding. The extender has an Ethernet port that you can connect your Arlo Pro 2 receiver to or link your Arlo Q cameras to. The extender replicates the WiFi signal from your router to increase the signal range.
Step 3. Pick a Camera
There are lots of WiFi camera available, I read a bunch of reviews and selected the brand Arlo for my system. I have two types of Arlo cameras – the Arlo Pro 2 and the Arlo Q. Both cameras had audio and microphone (Yes, I’ve yelled at my buck from my phone…) capabilities. And both can be accessed anywhere through the Arlo phone app! Simply log onto the phone app, select your camera and Voila! You’re watching your goats from the WalMart checkout line (<— I was going to say ‘from the Beach’, but let’s be real!..)
Arlo Q
If you plan to keep the camera mounted in one location where it can be plugged in and it will never get wet – I’d recommend the Arlo Q. It has a larger viewing angle than the Pro 2 system and a higher quality image. It’s sold as an indoor-only camera, but as you can see by the dirt on my camera below – it’s a work horse. If you can keep it dry, it will be fine in the barn.

The thing I like best about the Arlo Q is the price! For my system it works better than the Arlo Pro 2, and it’s CHEAPER!! If I were to recommend only one camera (and you have electric access and can keep it dry) I’d recommend the Arlo Q.
Arlo Pro
So after all that praise for the Arlo Q, why do I even have the more expensive Arlo Pro 2? Because I have situations were I can’t keep the camera dry and I don’t have access to electricity. Arlo Pro 2s can be plugged in or they can run from a battery or solar panel. They are my go-to for the outside yard, three sided buck pen and for general home security. These are the cameras I use to monitor the entrances of my home. They are flexible and can be placed and moved very easily.

When a doe decides that the best place to have her babies is jammed into the blind corner of the stall, this is the camera I move! They are easy to shuffle and change. They connect to the white Arlo receiver box (shown above in the image with the WiFi router) and at my farm, I find they will connect approx. 100 feet away from the receiver.
Arlo has continued to develop new models like the Arlo 4K, Arlo Pro 3 and I’m sure they will continue to make upgrades. I haven’t seen the need to upgrade – the old system is still being manufactured and maintained and I can’t justify the cost.
Step 4. But how did you get it on the TV!?!?
This is the easiest part!! My TV is an Amazon smart TV, but if you don’t have a smart TV, just purchase an Amazon Firestick. The Arlo app is compatible. All you need to do is say: “Alexa, show “Arlo Q” or in my case, since I’ve renamed the camera, “Alexa, show Barn North” – and Boom!! I’m watching my barn on my TV! Easy as Pie!
Best of Luck! If you have any questions, please don’t hesitate to comment below!
